Y-O-Y? (Part I)
Almost every time I tell someone new about this project the question ‚why‘ pops up inadvertently. While there are many reasons to motivate me for this project, one of the driving ones from the beginning was to have a project that allows to experiment with certain frameworks and technologies. In a project with paying customers you most often do not have the freedom to do this. In the end you can only gain experience with this new/yet unknown stuff by creating something with it. Basically this boils down to a learning experience that will improve my programming skills. In this blog post I will try to shed some light on what exactly this is, while following through development of Release 0.8.0.
This release splits in two main categories: the actual code that needs to be produced to provide for the new features and the additional artwork required to meet the set aims. Therefore this blog post is also split into these two categories.
Implementing the features
Let the source code speak for itself
The first new thing for this release is not even a feature of the game itself, it’s more of a tool for helping in the development. Already for the past few releases there was some documentation that was generated from the code. However this was very basic and mainly relied on reflection. This new tool also creates documentation, more exactly it documents the event pipeline through the EventBuses. The result is pretty simple: I want to know on which EventBus which Events are posted and where they are handled. This requires a bit more than information that can be gained from pure reflection, as part of the relevant information resides within the methods itself. The answer that I found here was to inspect the AST (AbstractSyntaxTree) to figure out which object types are posted on which event buses, and which classes listen to which EventBuses. To achieve this I delved into the Compiler API that is provided in the tools.jar. As this API is poorly documented by means of JavaDoc and there are not many examples out there, it was mostly trail and error that got me there. For a more in depth look at the solution check out the separate blog post.
During my time at university I always said when facing a difficult mathematical problem (the kind you can’t solve by just thinking it over once), to ask a mathematician. Even today I stand by this statement, however I figured out a bitter truth: to be able to do that, a mathematician has to be at hand. Therefore I had to look elsewhere for solving the problem of converting a Bezièr curve, defining the price development of a ware with respect to the available amount of said ware available, into a workable formula. The solution is well within the tradition of science engineering, and was pointed out to me by colleague at work: Iterate through the problem field until you hit the proper solution. As the solution to the problem field can be reused and is continuous this means basically some initial overhead to calculate all the prices in a certain range and then store it. Read more about this in the corresponding blog.
Providing the Artwork
Every time I do some modelling I learn something new, or sometimes unburied something that I once knew. Starting with the modelling for the guild interior, I decided to follow this tutorial on how to create a normal map within blender. As a precondition you require the image to be evenly lit, and this turned out to be the hardest part, because images the depict an object with some depth to it will have some shadow in it. Therefore I looked around for a way to brighten up an image in certain spots and came across this tutorial. The technique seemed somewhat familiar and I might have used it in the past.
When importing my character into the scene I once again stumbled upon some issues, that I for sure encountered in the past:
- The grouped character cannot imported by linking, as then the armature does not come along with it. Therefore the group must be appended, which increases the file size…
- If your character should have a particle system (like for the hair), resizing the character will wreak havoc with that particle system, as it does not get scaled along. I am hoping dearly that this will be something that will work better with the new hair system. So far the alternative is to scale everything else up to match the size of the characters.
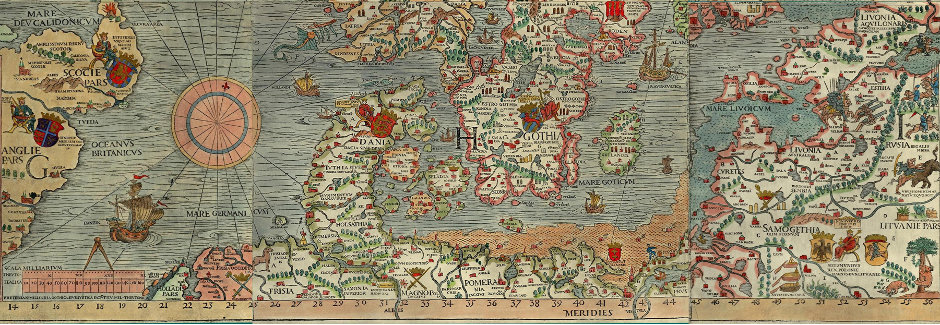
Do you know what the plague is? Really? Are you also aware that this disease is not something of the past? Yes? Then you certainly have seen images of it’s effect. No? I can tell you it is nothing nice to look at. Never the less I had to do some research into that area for the purpose of creating the first video animation of the game. This is something quite in common for various areas of the game: if you want to provide accurate information of something you have to research it first. Mostly that means figuring out what is correct in the historic context: while contemporary you would iconify salt and pepper with a „salt and pepper shaker“ this just won’t do for a scene in the 14th century. So this means to think about what is a correct visual representation in the historic context as well as digging up the historic data for all the cities in the game.
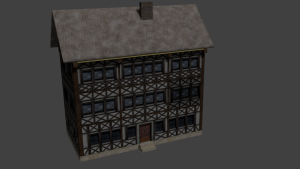 While improving the model of a building and thinking further to the animation of how the building should be displayed while it is constructed, required me to learn a bit more about texturing and animation. The idea for this half timbered house is that the stone works and the main woodwork are present from the start and the walls and roof is then slowly built up by slowly fading in from bottom to top. As this should be controllable from the outside I needed a control element that moves vertically and thereby defines the level where the fading starts. For this use case the external control is not strictly necessary, but there should also be an animation of the building burning down, which requires a transition of textures in the other direction, in addition the fire should reach down to about that level. However the fire is not part of the model but must be added later. Here is the node simplified node setup:

This is the resulting animation:
[…] first part of this was planed as the only part, however to keep things concise I decided to split it so here […]
[…] with the release I also posted two articles on all the stuff learned from the development: Y-O-Y part I and part II. There are also three more blog posts on some specific development topics, that are not […]