Maps contain usually some mountains and are a projection from above. One way to distinguish the height level is by using colors as this is typically done by relief maps. The map that I’m creating uses color for different kinds of vegetation. Therefore there needs to be another approach. This image tutorial follows the same path as this video tutorial.
Let’s start with a green area by defining the shape of the mountain range using the lasso tool. The more ragged the border of the selection the better the result.
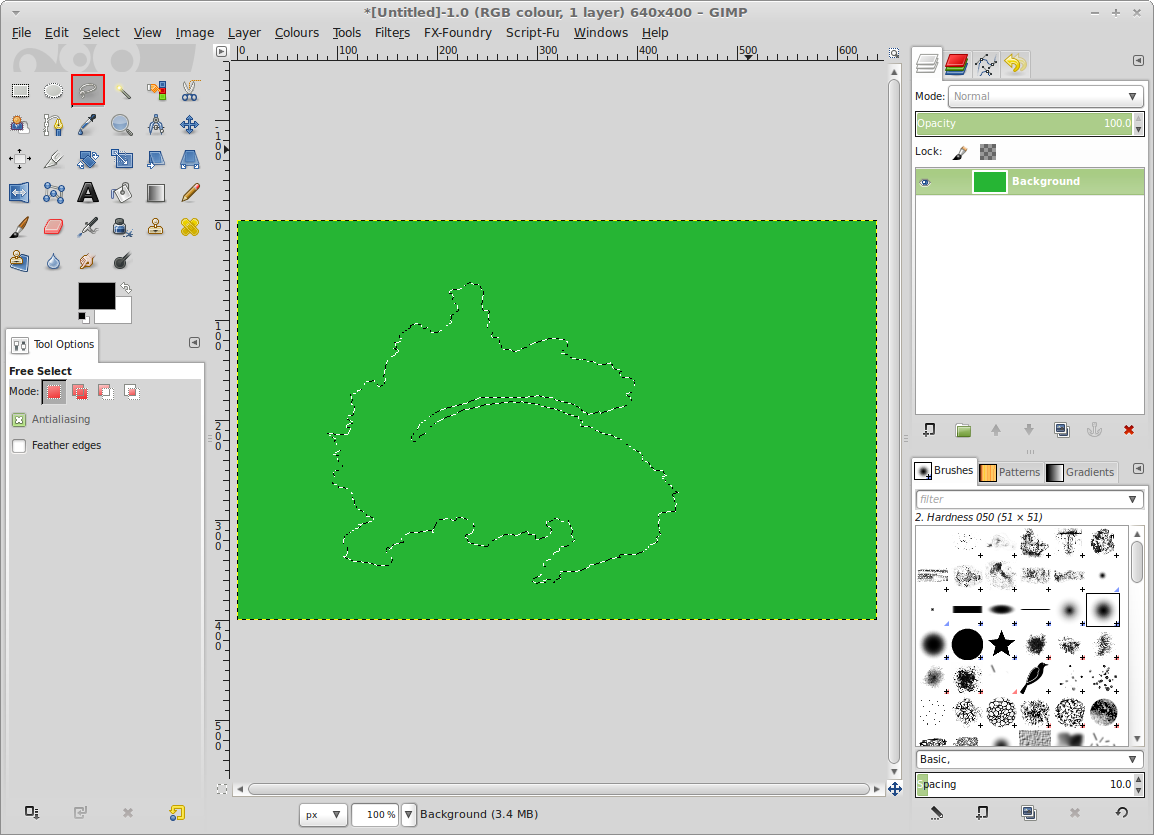 The indention in the selection from the right side is a river valley.
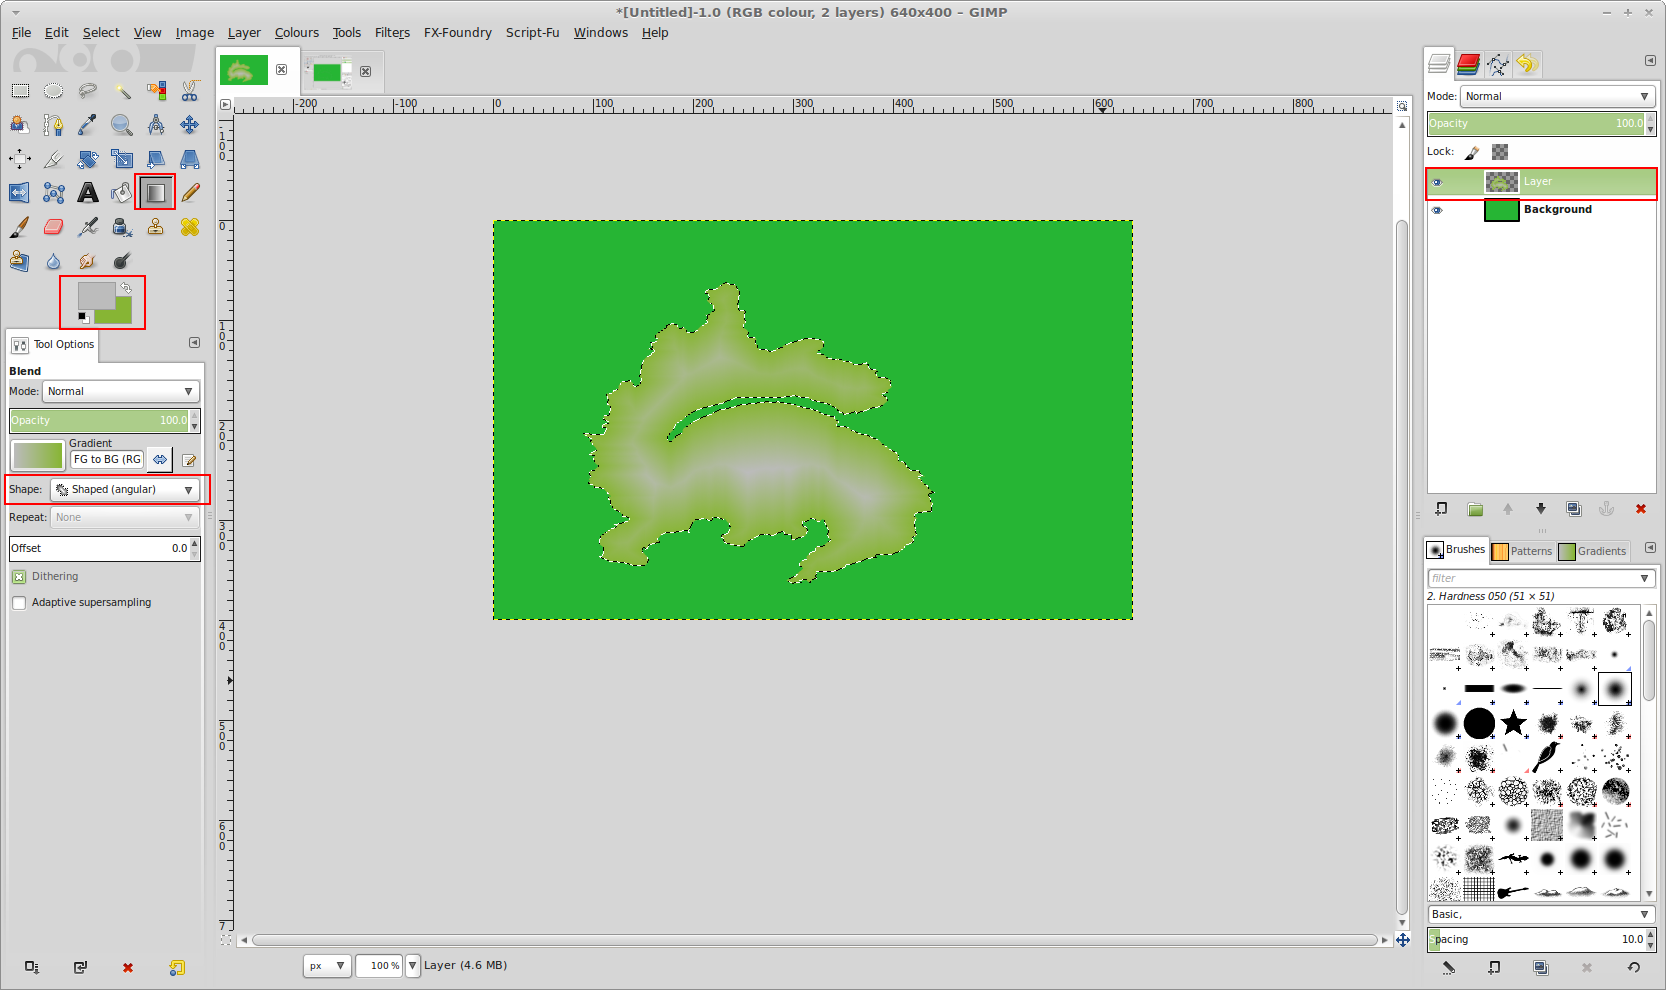
Next we need a separate layer to draw the mountain on. The height level is done with the gradient tool with setting shaped angle. The background color is the lower region and the foreground the higher region.
 In the next step we create a new layer for the bump map with the same selection. Though we feather the selection a bit with a value of ~10px.

The bump map is a black white gradient, where black is low and white high. Select the default foreground/background colors and change the gradient.
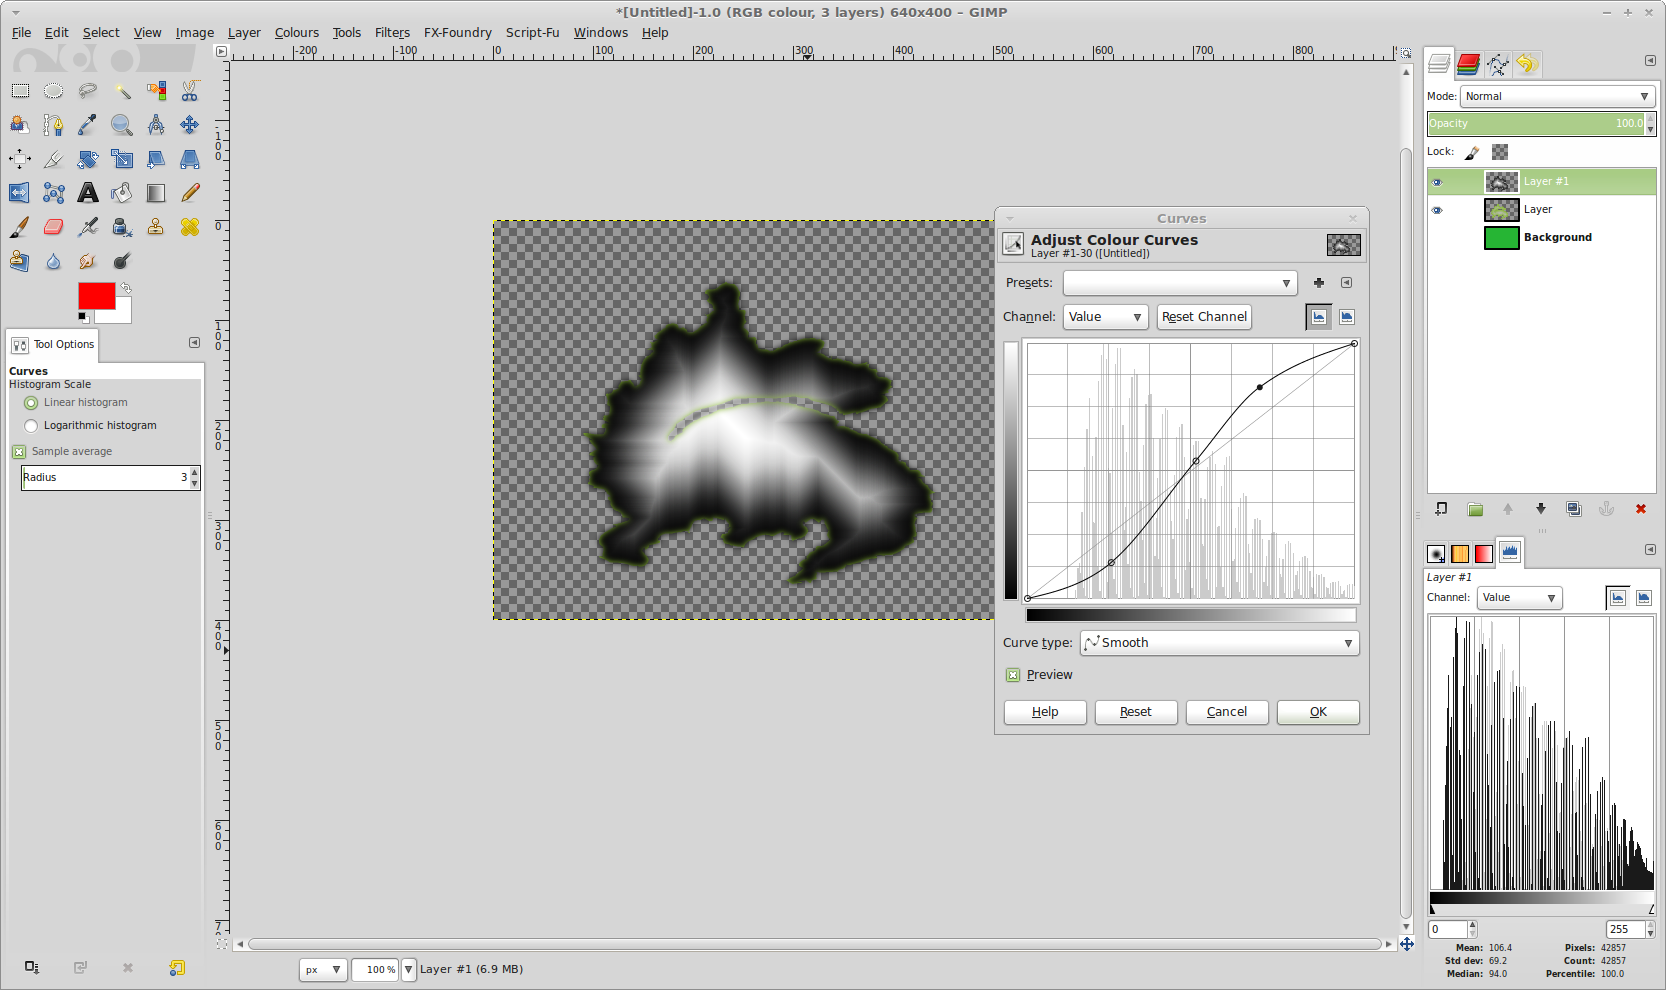
 Next we adjust the slopes on the mountain. This is done by adjusting the curve in the historgram (Colors->Curves).
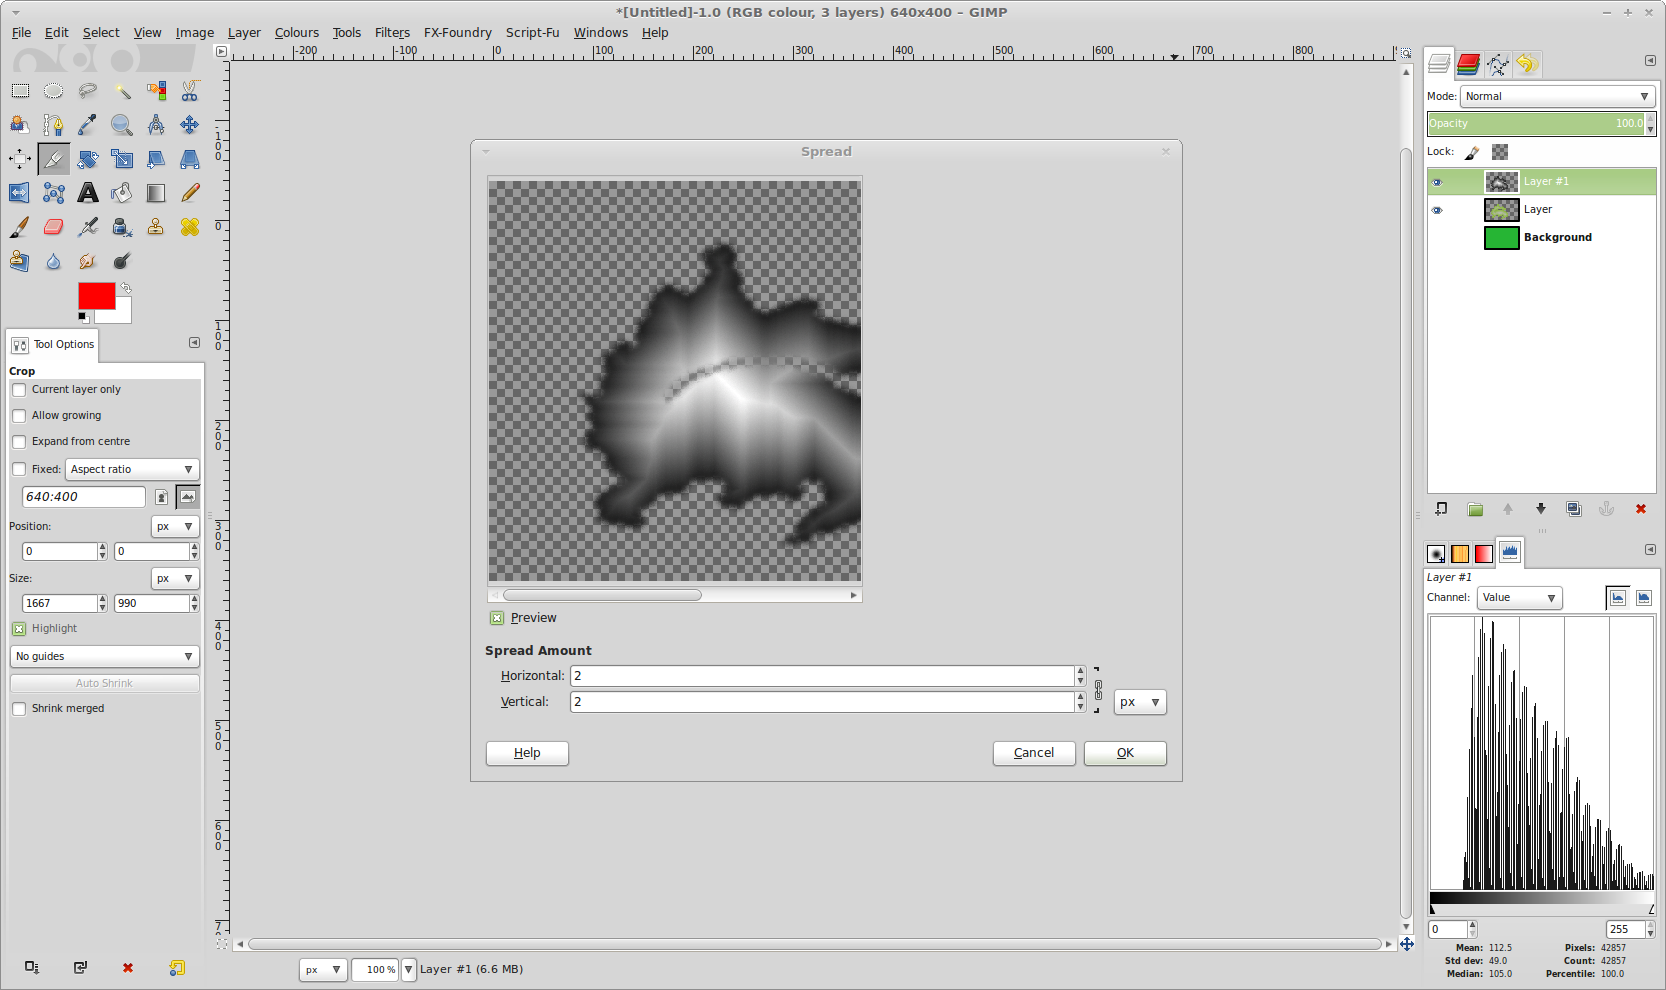
Now we add some noise to the bump map (Filters->Noise->Spread) with a pretty low setting.
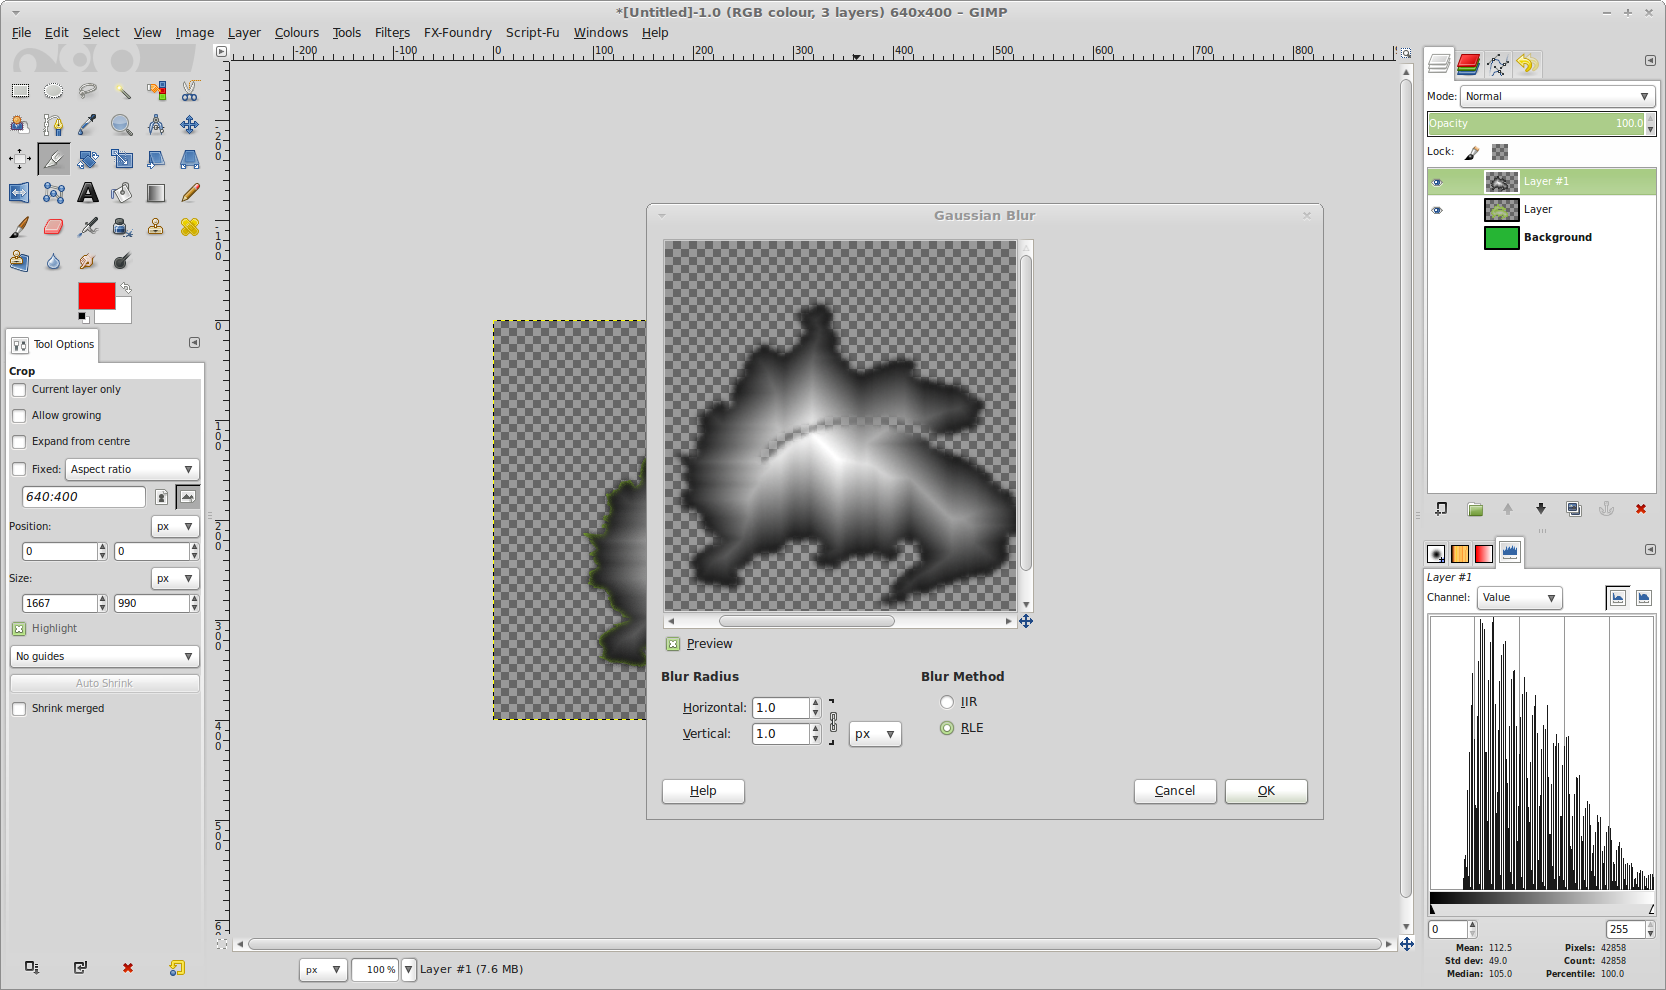
 Apply a Gaussian blur filter (Filters->Blur->Gaussian Blur) again with a low setting.
The next step is applying the bump map to the image. Hide the layer with the bump map and change to the other layer. This step will combine the two layers.
 To find the right settings is try and error.
Azimuth is basically the angle the shadows fall. 0 and 360 have the light source to the left, 90 at the top and so forth. The Elevation should be pretty high. Do not touch offset values.
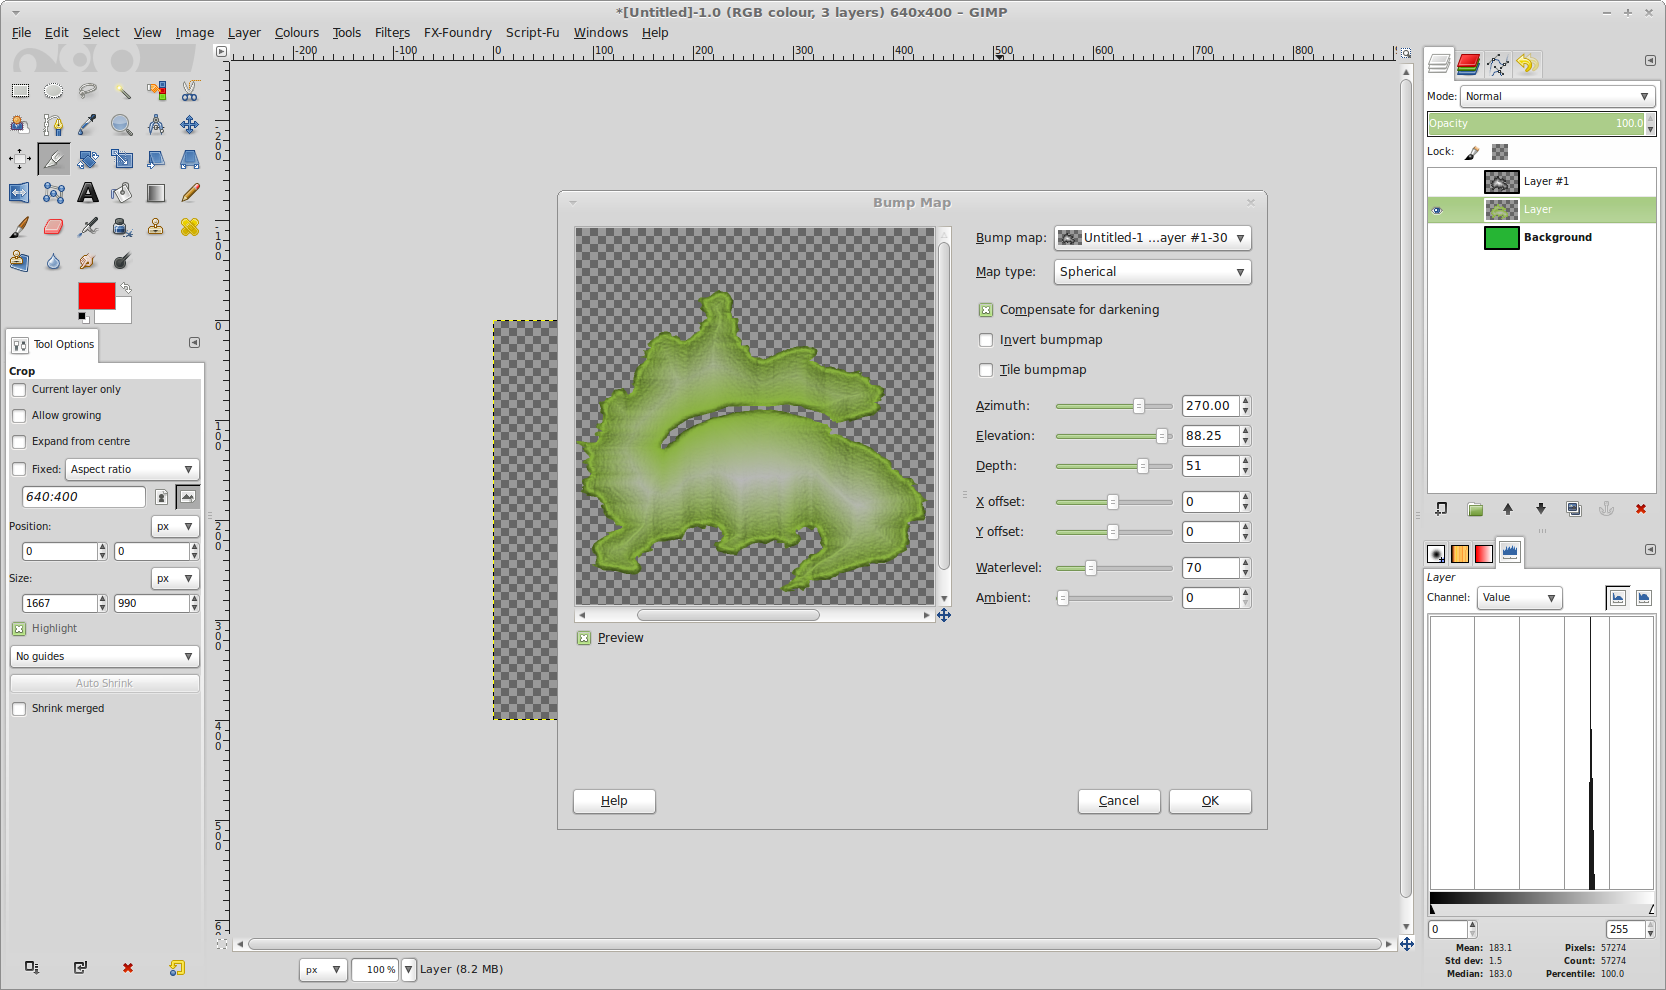 As you can see the ridge is not very explicit. The cause is that the border of the selection is to less ragged.
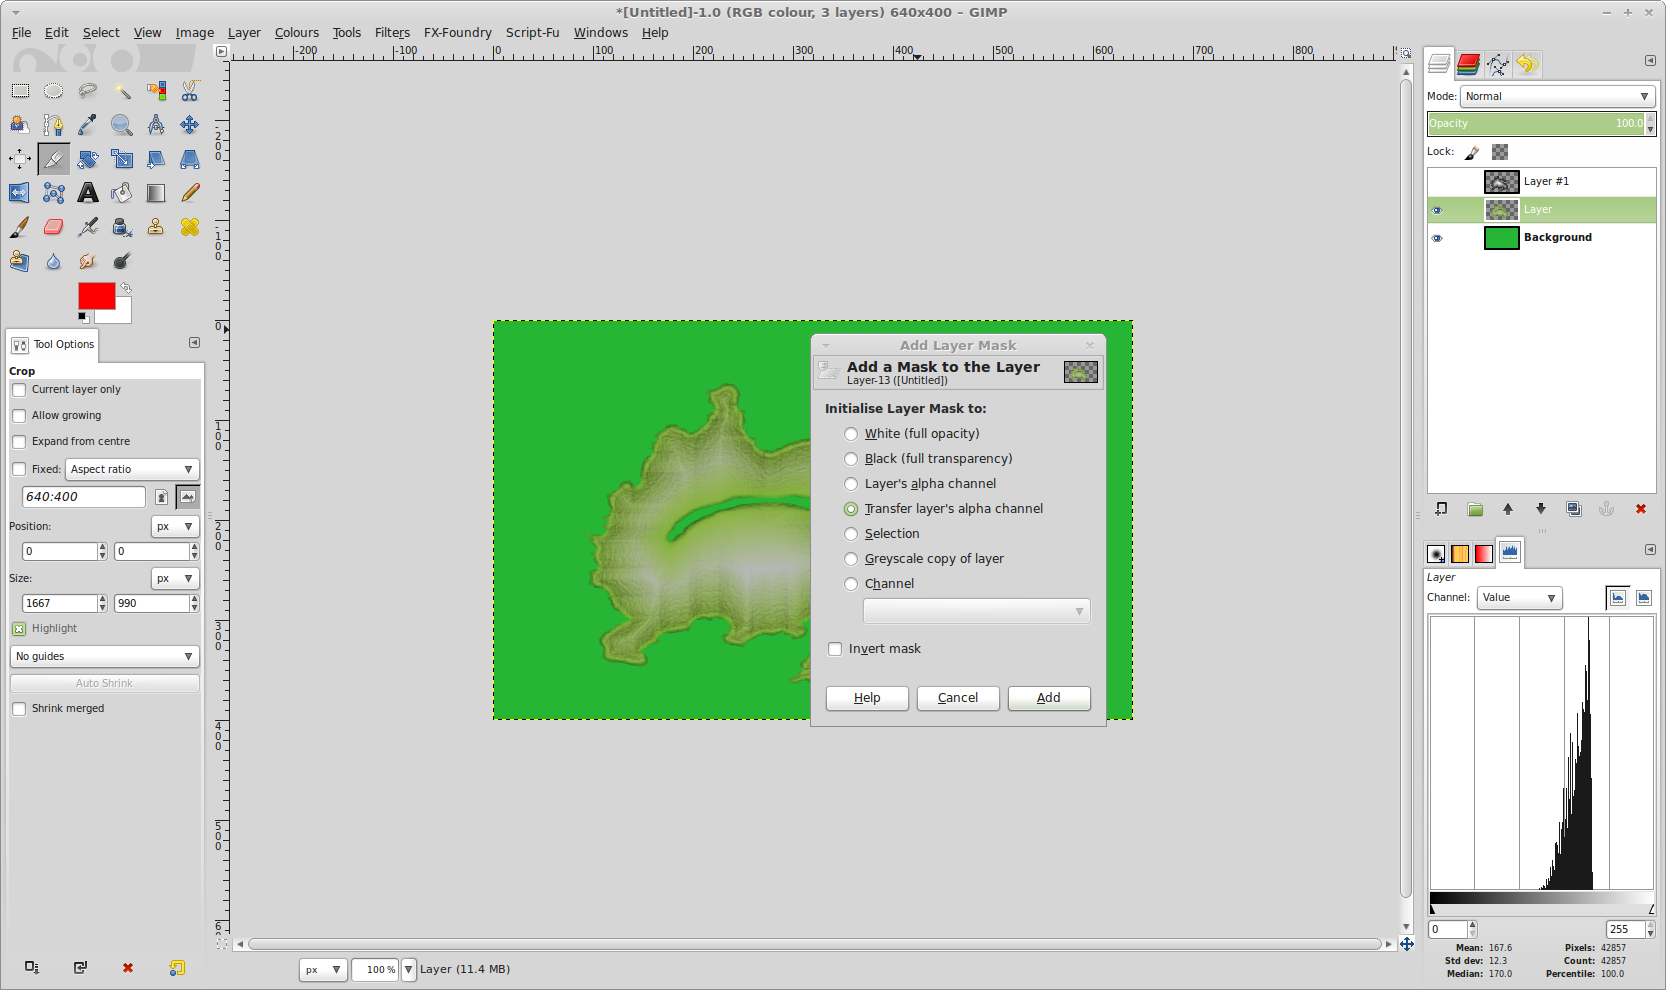
When turning the background back on we see that there are sharp edges, which need to be filed of. To do that we select the transparent portion in the mountain layer (Layer -> Transparency -> Alpha to Selection). Invert the selection (Selection -> Invert), feather it (Selection -> Feather) and remove the selected part (DEL). An alternative way is to create a mask (Layer -> Mask ->Add Mask Layer).
 Then on the mask a Spread Noise Filter and a Gaussian Blur filter can be applied.
As this example shows it does not seem to be a good idea to have a mountain range with a ravine in the middle.